Affiliate links on Tech Countless may earn us a commission. Learn more
4 Best Screen Recording Extensions for Google Chrome
If you are looking for the best screen recording extensions for the Google Chrome browser, then in this article we’ll tell you about 4 very useful extensions.
In most screen recording extensions, first you choose the start recording option, then you need to choose what to share:
- Chrome Tab: Allows you to choose any opened tabs, and it will record that particular tab.
- Window: In this, you can decide which opened window you want to record. It may be other software or applications.
- Entire Screen: If you select this, it will record whatever you do on your screen (very useful for creators who make how-to tutorials).
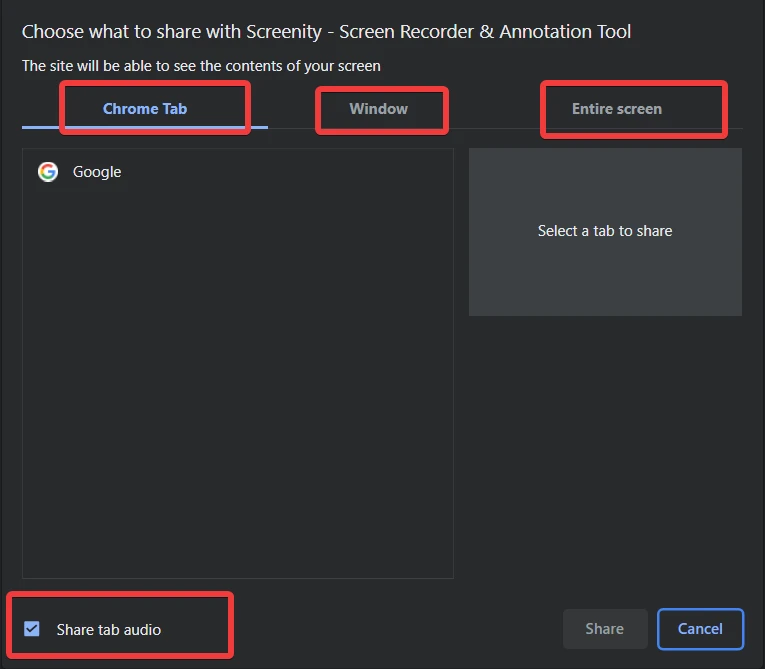
Also, you can select the Share Audio button from the bottom left-hand side, so it will record tab or system audio as well.
1. Screenity
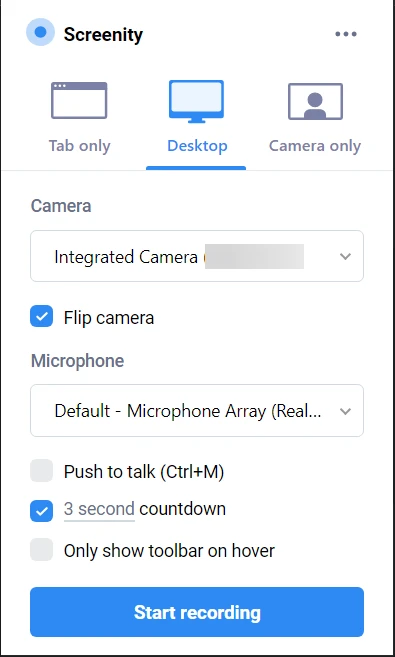
Screenity is an open-source extension that allows you to record the screen and provide options to do annotations while recording, like show an arrow, draw something, add text, and more.
You can pause or continue recording, add a facecam to the recording, change its size, and move it around during recording.
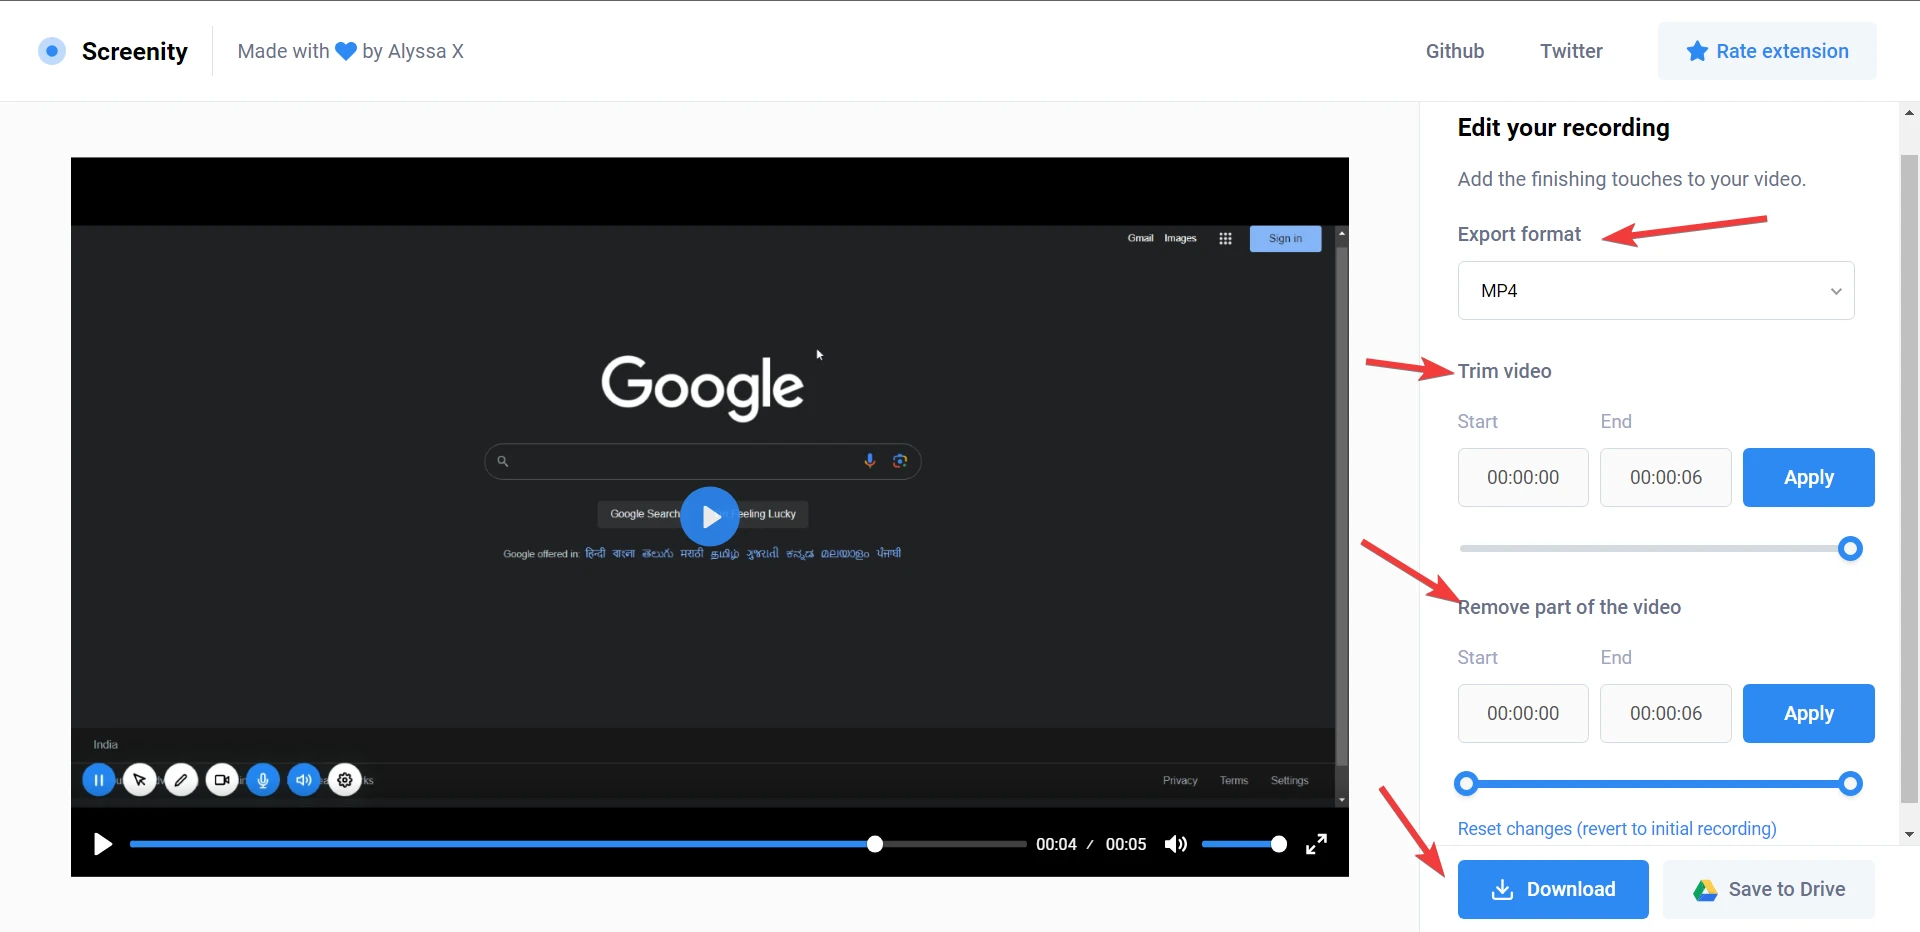
In Screenity, after recording is done, click on the right icon, save it as mp4, and not only that, you can remove or trim parts of the recorded video, then download it.
2. RecordRTC
RecordRTC is a very easy-to-use extension; you just need to click on it, and then it provides a list of options that you can choose from. It is really helpful.
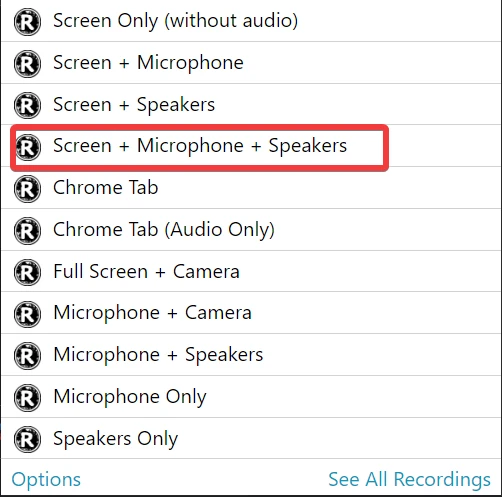
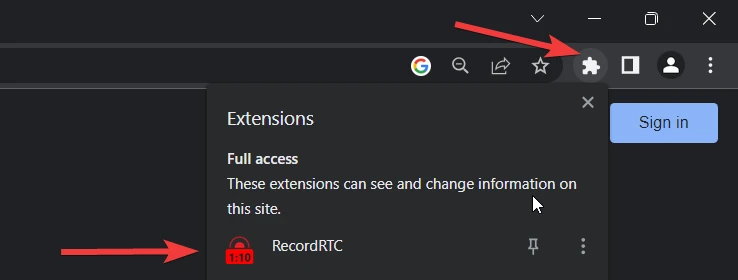
For most use cases, Screen + Microphone + Speakers work best. Then choose whether you want to record the entire screen or just the window. Then it will start recording, and once you are done with recording, go to extensions and click on RecordRTC to stop recording.
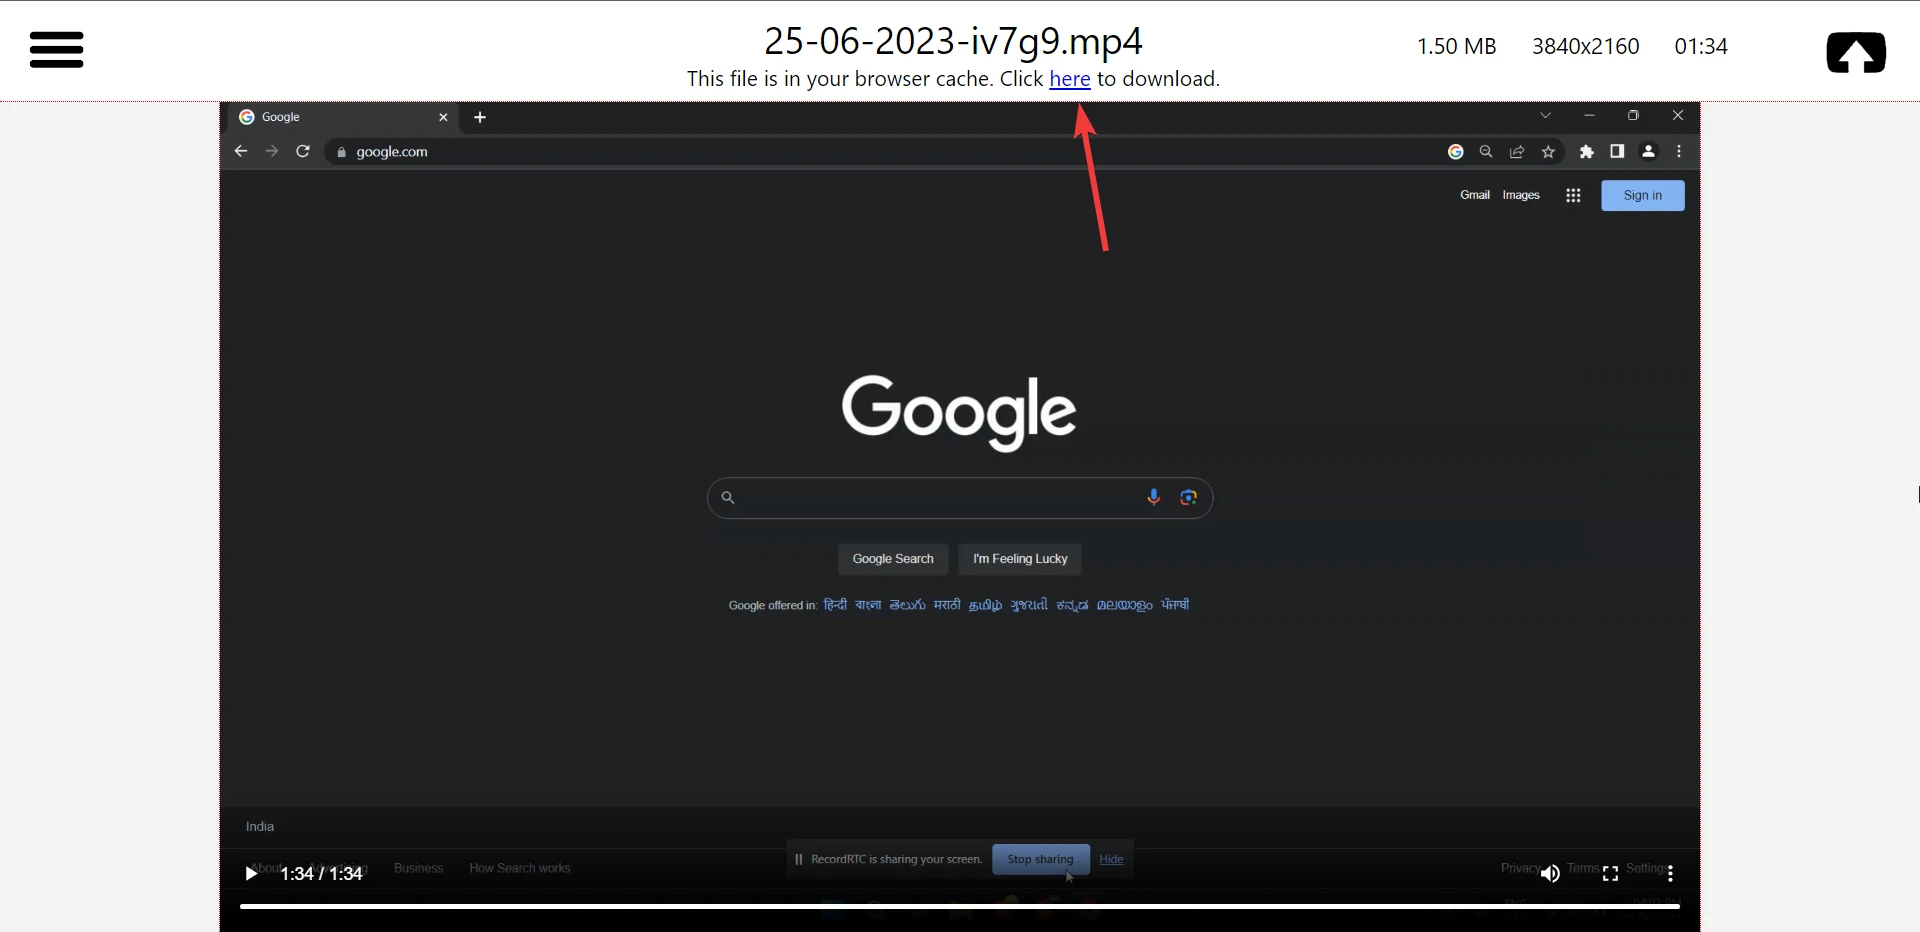
After that, select “Click here to download it,” and it will save on your system.
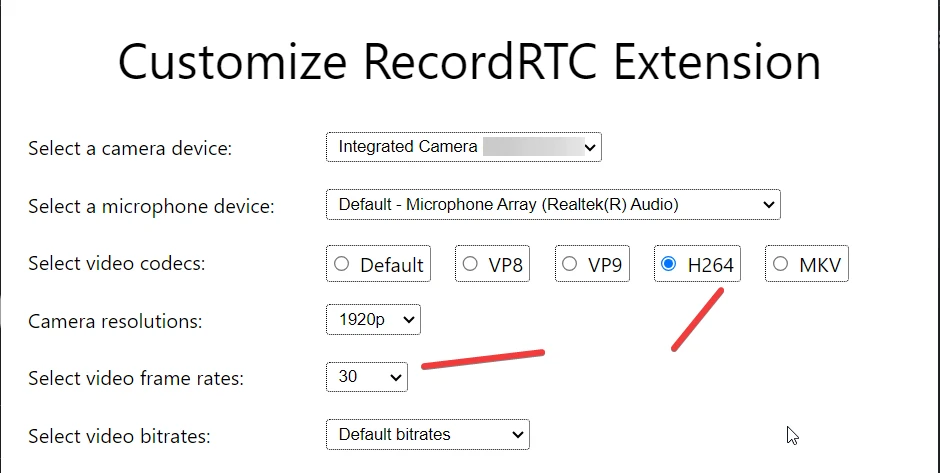
Before recording using RecordRTC, don’t forget to go to options, then change the video codec to H264 to save recording in.mp4 file format; otherwise, by default, it records in.webm file format. Also, set the video frame rate to 30.
3. Scrnli
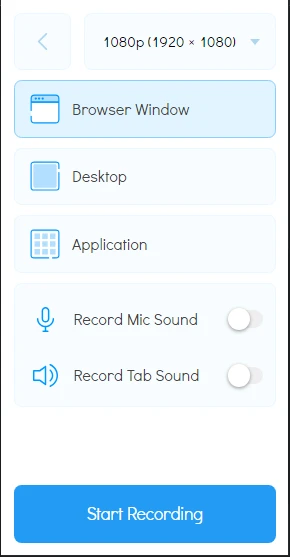
With the help of Scrnli, you can record the screen and take screenshots. To record a screen, simply select the Record Video option, choose appropriate settings according to your needs, and then start recording.
During recording, you can show a red highlight effect around the arrow and draw anything. After recording is done, you get the option to save it as.webm or convert it to another format, like.mp4, and save it.
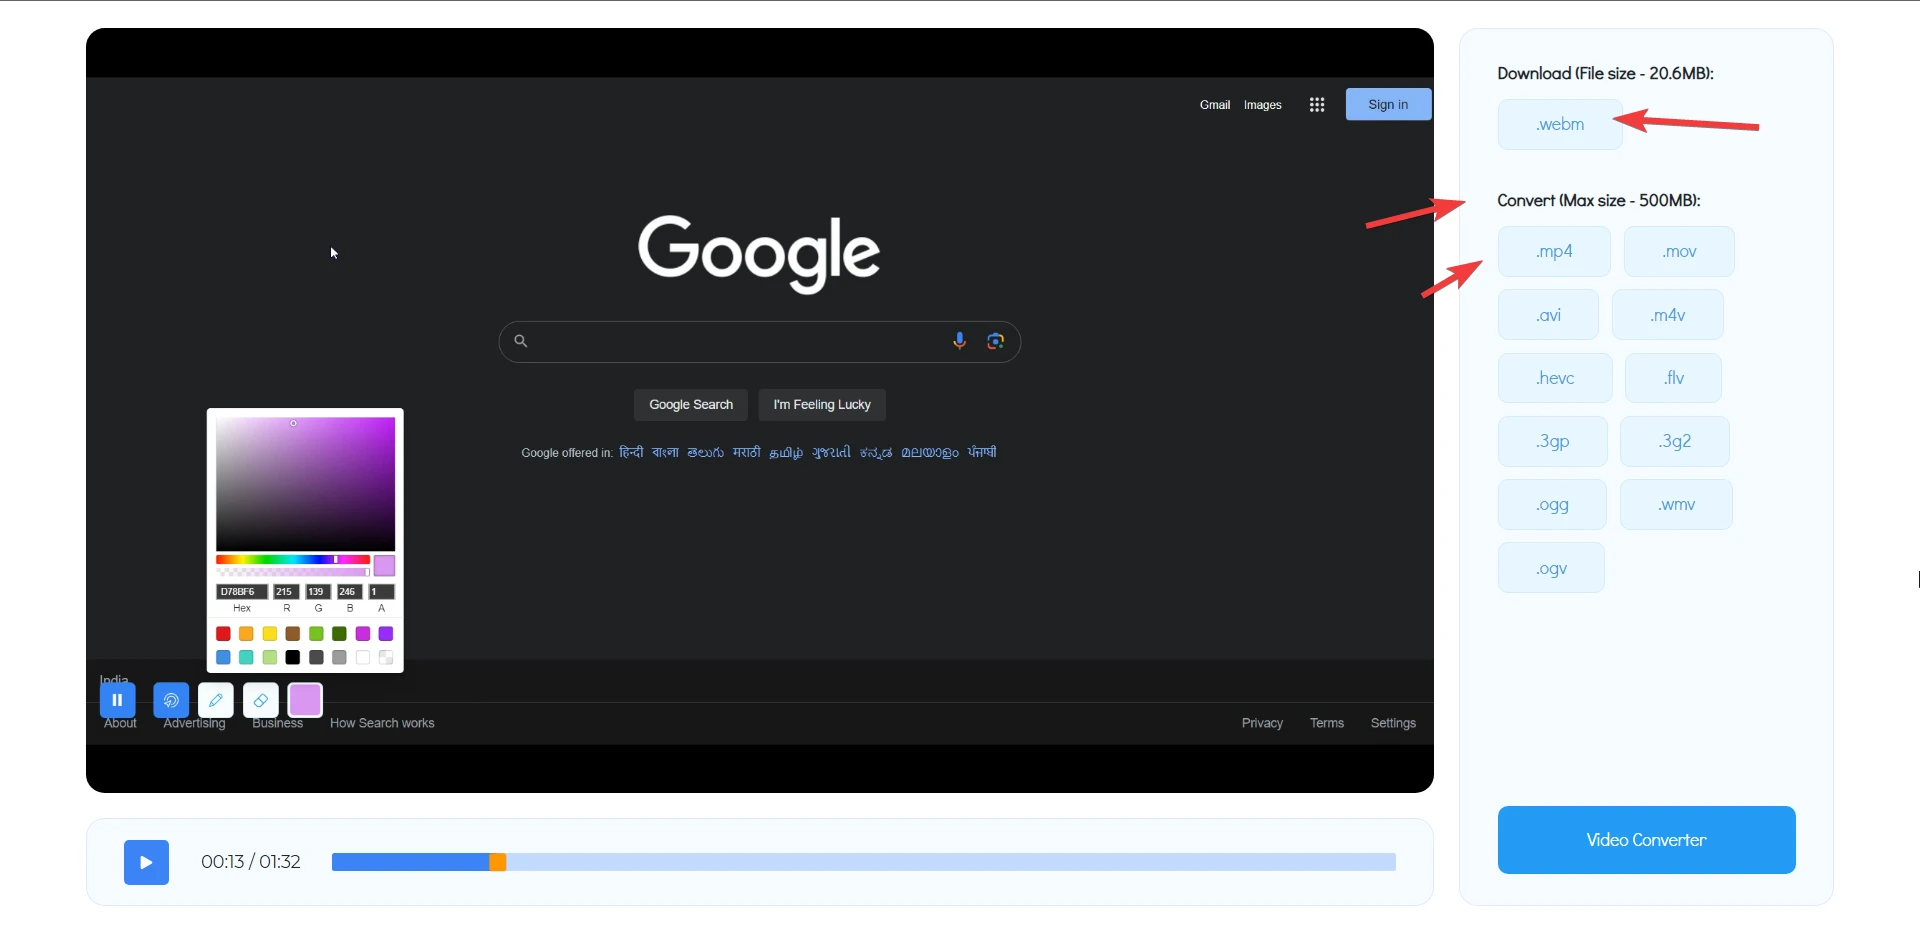
4. Screen Recorder for Google Chrome
If you are looking for a simple extension that allows you to record just the screen and you don’t want much complicated stuff, then you should try Screen Recorder for Google Chrome.
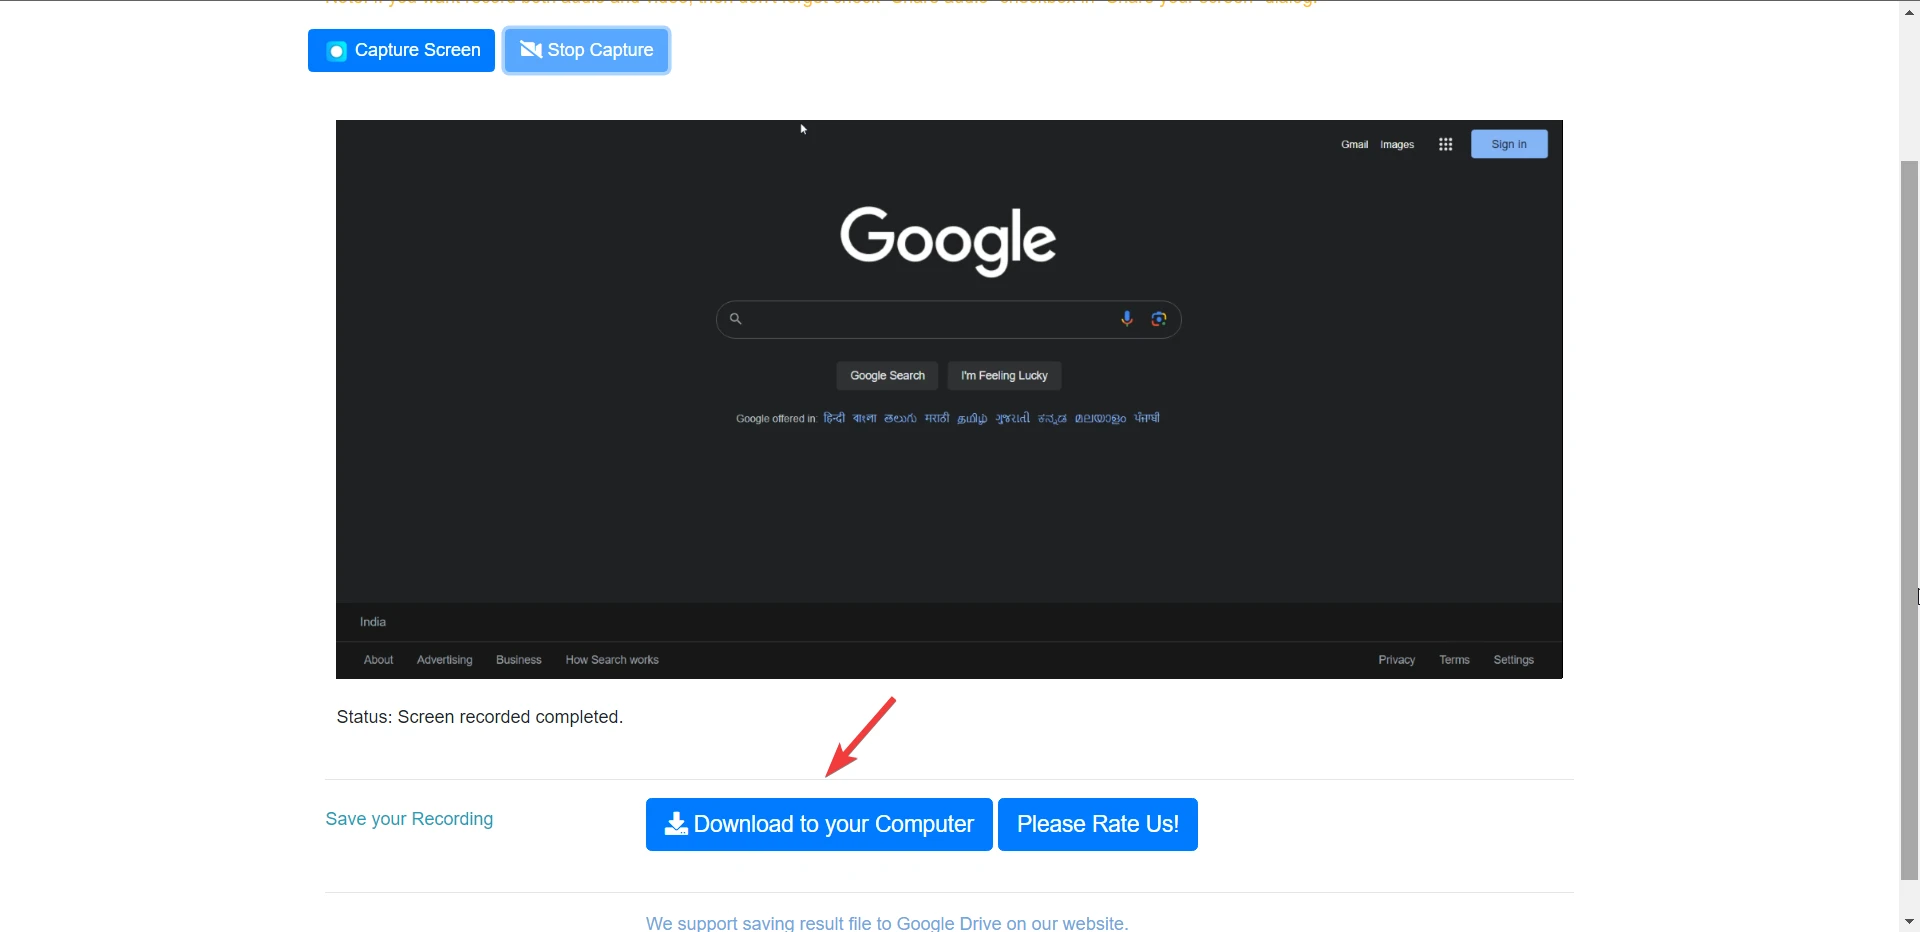
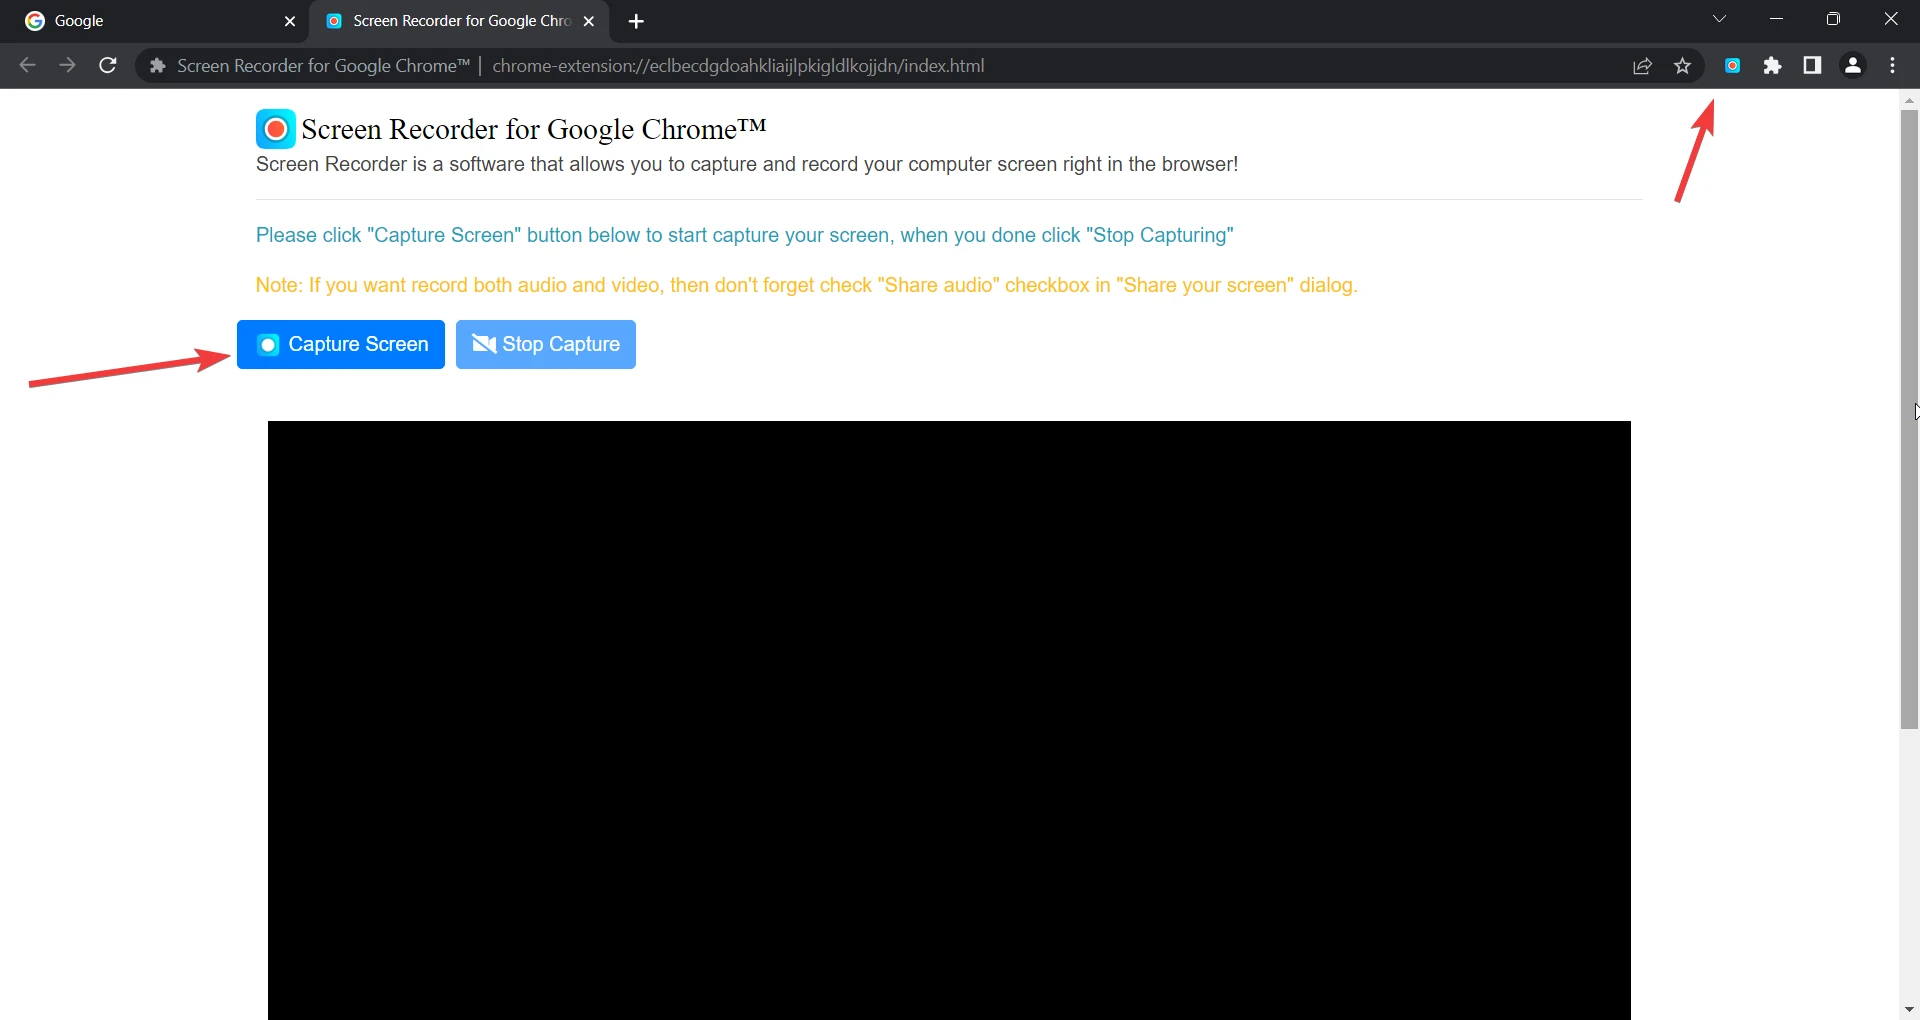
Click on the extension, and a new window will open. Choose the Capture Screen option, then select the recording option, and start recording.
When you have done your recording, go to the extension page, click on Stop Capture, and it will stop recording.
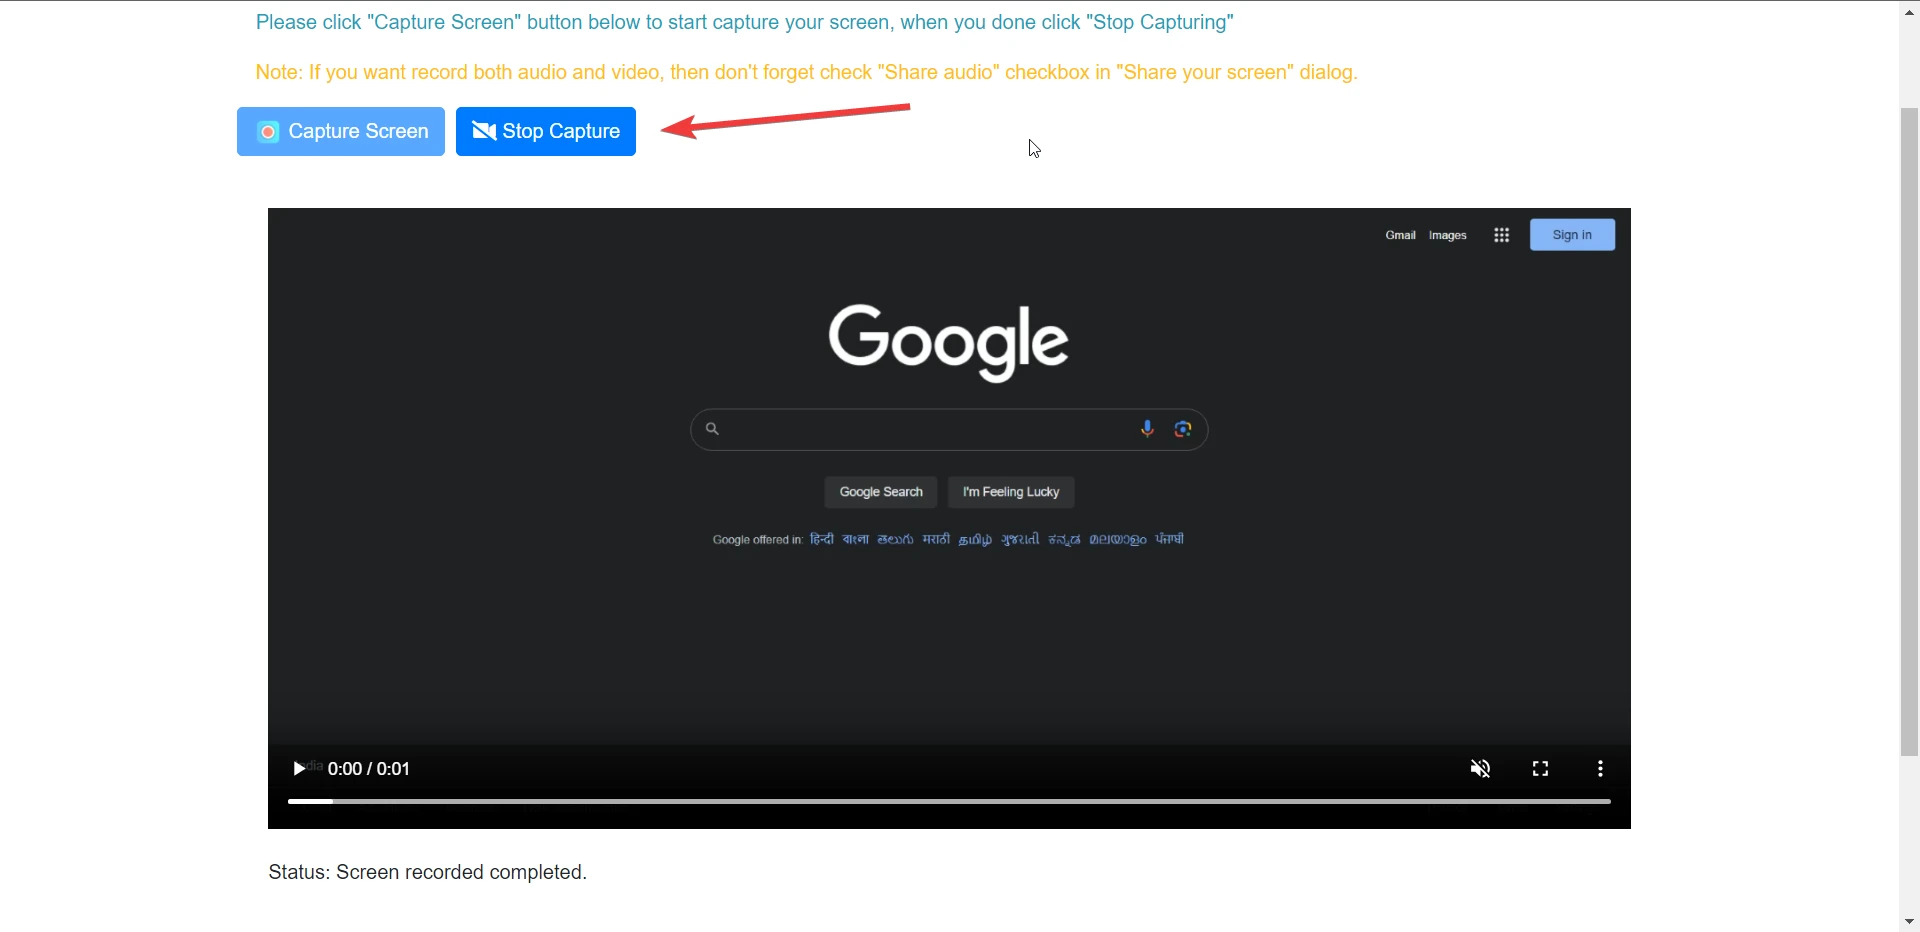
Then scroll down and click Download to your Computer to save that file. It allows you to save recordings in .webm file format.
