Affiliate links on Tech Countless may earn us a commission. Learn more
How to Change Default Fonts in Google Chrome
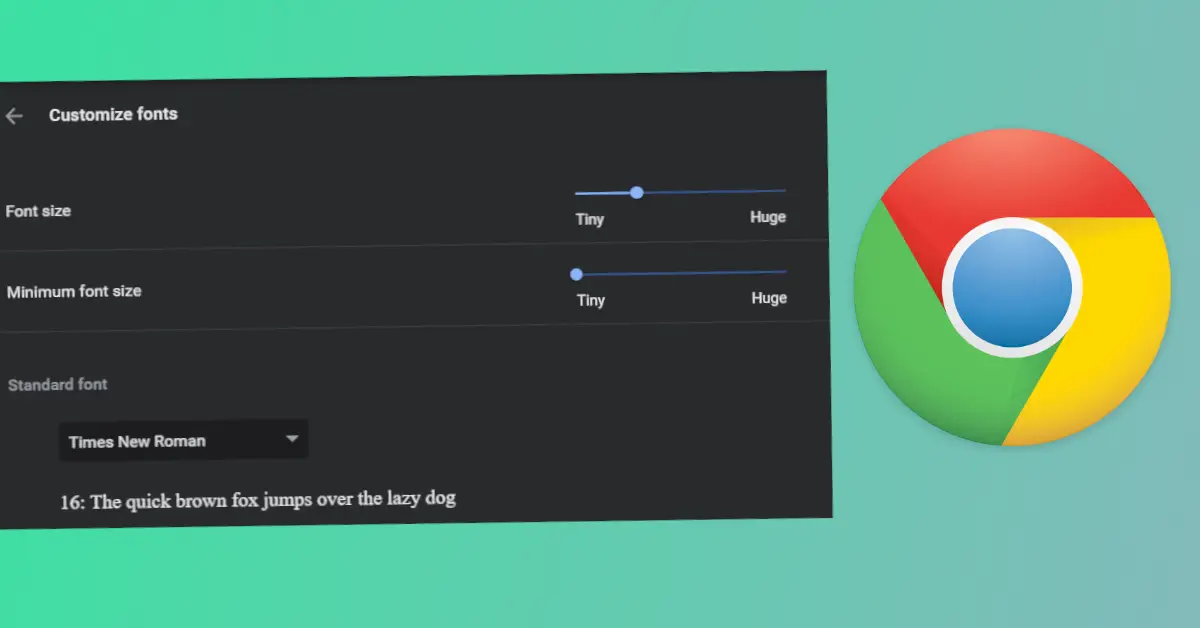
If you are bored seeing the same default font in your browser every day, then you can customize it to your liking! Google Chrome allows you to change the font easily, and this is really helpful if you come across certain fonts on websites that are difficult to read.
Or, if you’re someone like me who prefers a certain font for reading, then you can follow the below steps to change fonts as per your needs:
1. Launch Google Chrome
2. Go to Settings > Appearance > Customize fonts
3. Here the first two sliders will determine the size of the fonts. By default, the font size will be 16 which you can customize. In the second slider, you can determine how small the minimum font size should be. If you have difficulty reading, we will recommend you to increase values in both the slider and see which one suits you.
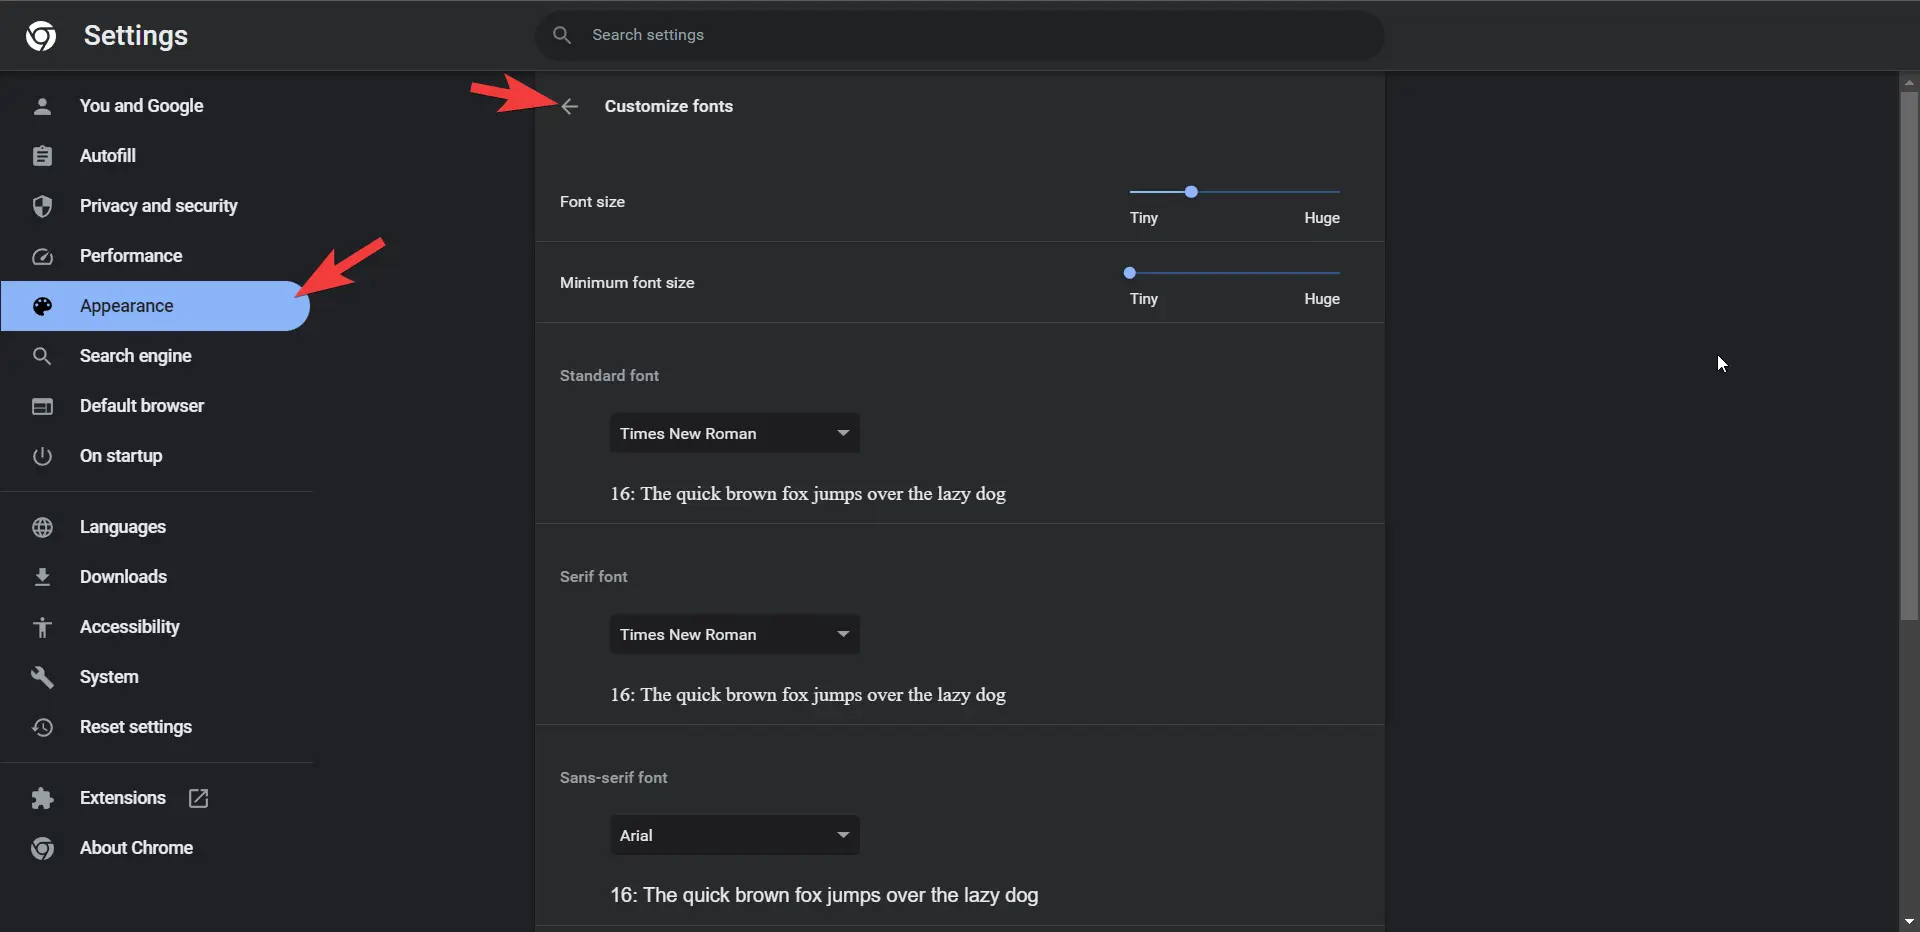
The fonts in Chrome are divided into four types: Standard, Serif, Sans-serif, Fixed-width. Here’s what each of these categories means.
Standard font: If the website you’re browsing hasn’t declared any particular font, then the font you’ve selected here will be used to display text on that website.
Serif font: If the website you’re opening has specified that serif font will be used for the text, then the font you’ve chosen here will be used for the contents of that website.
Sans-serif font: If the website you’re visiting has stated that San-serif font will be used for the text, then the font you’ve selected here will be used for the contents of that website.
Fixed-width fonts: If the website you’re browsing has declared only to use Fixed-width font, also known as Monospace font, then the font you’ve chosen here will be used to text in the website.
4. Use the drop-down menus in each of the four types and select the specific fonts.
5. Once everything is done, restart the Chrome browser to apply all the changes.
Now you will see that every website you visit will have the font you have chosen earlier. You can change the fonts again if you don’t like any one of them.
FAQs
What is the default Google Chrome font?
Times New Roman is the default Google Chrome font.
Which font is best for Chrome?
Times New Roman is probably the best font for Chrome, but it all comes down to personal preference. You can try out different fonts to choose what you like.

