Affiliate links on Tech Countless may earn us a commission. Learn more
What Is HDR Mode In Camera App: How It Works & When To Use It?
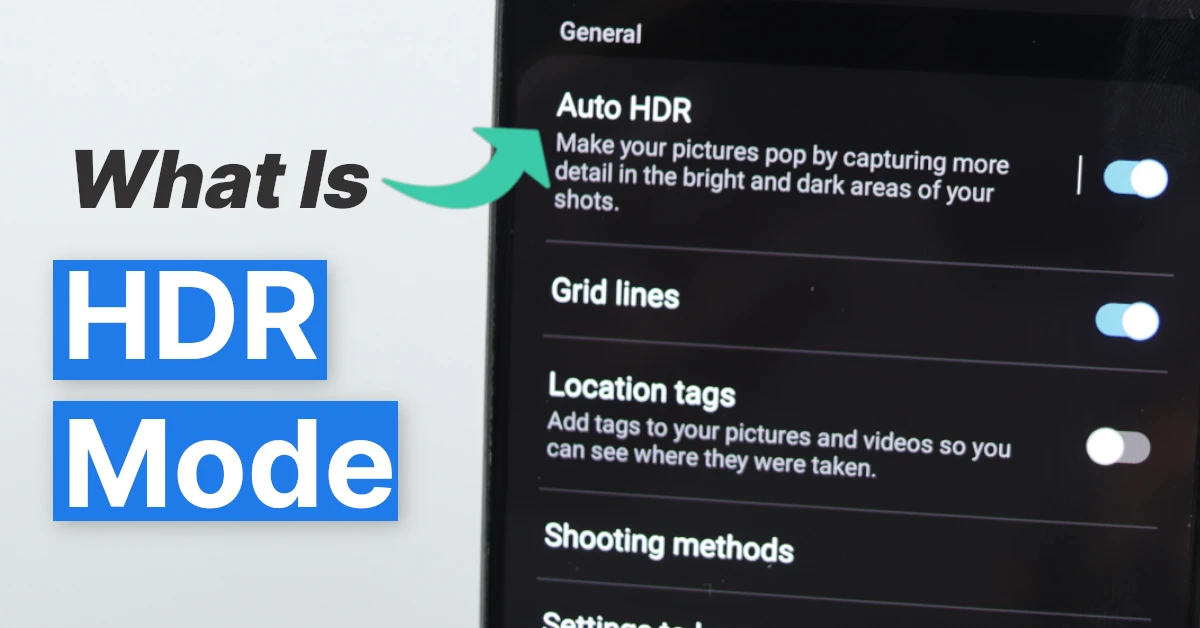
HDR, which stands for High Dynamic Range imaging, is a common feature in both Android and iOS smartphones. And, you might have wondered what exactly this is and how it works. It definitely helps in taking better-looking photos, but is it the option you should always enable?
In this article, we are going to discuss the HDR feature in smartphone camera app and also tell you when you have to use and when to avoid it.
What Are Highlights, Shadows, And Midtones?
Before you learn in-depth about the HDR, you need to understand what highlights, midtones, and shadows mean.
Highlights: The brightest areas of the image.
Shadows: the darkest part of the image.
Mid tones: lie between the highlights and shadow.
All three are merged to get a well-exposed final image. We cannot just make an image with only one of the three things, there needs to be a balance to get a good final image. But we can of course make adjustments with these areas to increase or decrease exposure, contrast, or bring out a dramatic and stylistic effect in the image.
So What Exactly Is HDR Mode?
HDR is basically a method to add more dynamic range to the clicked photos from the camera. Dynamic range is basically the ratio of light to a dark area in an image. So, instead of taking one picture, like normally in any camera, the HDR mode takes three or more photos with different exposures then combine those picture and create final result.
Why Do You Need HDR Mode?
Sometimes, you might have noticed in certain bright environments when you take an image, it looks dull. Some parts of the image are too bright and some are really dark, to the point that the details are not visible. When the contrast between the bright and dark parts of the image is more, it is quite difficult for the camera to adjust itself and take balanced photos.
HDR is designed to take better-looking photos in such harsh environments. And the result will be a much-balanced image. It becomes a very important feature when there is more contrast in the image between highlights and shadows.
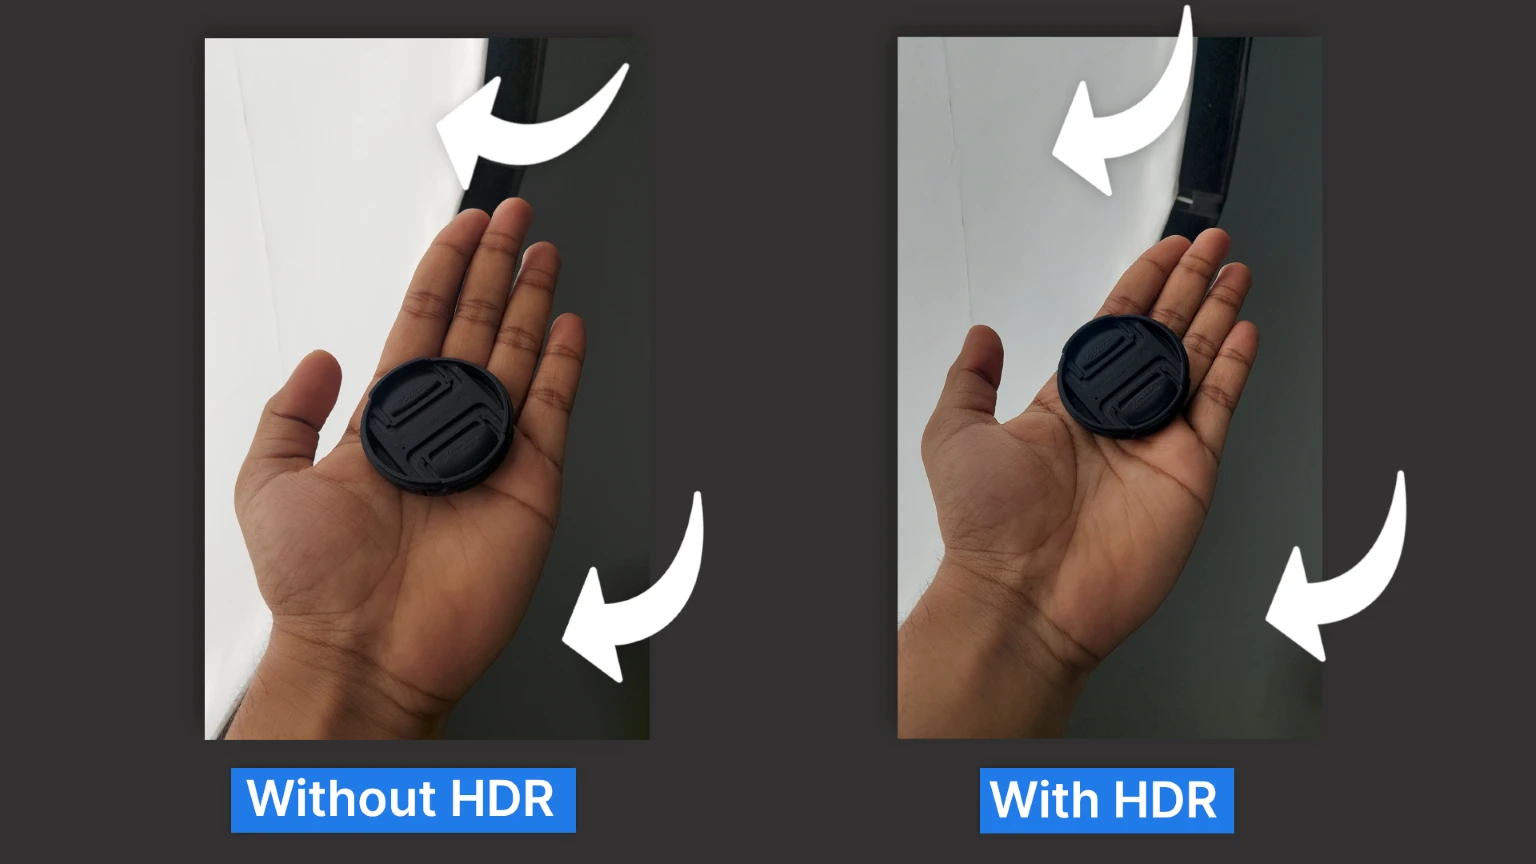
For example, take a look at the above image on the HDR side it tries to balance the highlights and shadows and mid tones, and when you look at it without HDR side, it doesn’t balance the highlights and shadows.
When Should You Use The HDR Mode?
HDR won’t just make any picture look better. There are a few instances where you have to use it. Here are the situations where you should use the HDR to take better-looking photos.
1. Backlit scenes: When you have a dark-looking photo even with the presence of a single light then you need to turn on the HDR. This will pop out the rest of the environment and add details to the whole image.
2. Landscapes: Landscapes usually have a big contrast between the sky and the land, which makes the smartphone’s camera struggle with setting the exposure. So, you can turn on the HDR to avoid ending up with overexposed or underexposed images.
3. Portraits in sunlight: When there’s too much lighting on the subject it makes dark shadows and bright glare on the images which look really bad. You can use HDR again to even out the lighting and make the subject look better.
When You Shouldn’t Use The HDR Mode?
Of course, HDR can make your photos look worse in some cases. So, here are the instances where you should avoid HDR for a better-looking image.
The subject is in motion: Remember that HDR mode takes three pictures? So when the subject is moving, it won’t be in the same position in 1st and 3rd images. This will end up in a much blurry image which won’t be good.
In night photography: In night photography, your purpose is to show a contrast between dark and light areas of the image. But the HDR is made to balance out the contrast in the image. So, using HDR in night photography will make your photos look dull and washed out of colors.
Vivid colors: HDR mode is made to bring out colors and details when the scene is too dark or too light. But if you already have a vivid and colorful environment then HDR can wash the colors out, making them look dull.
Pros And Cons Of HDR Mode
| Pros | Cons |
| Get all the details back in the image | Not suitable when the subject is moving. |
| Well exposed and balanced images | Washed out images in low light |
| Images will be close to what your eyes see in real-life | Does not work in all situations. |
| Good to make a dramatic effect in landscapes. | Images may be a little bigger in size. |
| Good for popping out the actual colors. |
How To Take Photos In HDR Mode
In your smartphone’s default camera app, you can find the option to turn on HDR. But if you don’t see it anywhere, go to Settings and look for the option Auto HDR. Some smartphones come with the Auto HDR mode where it can turn HDR on automatically based on the environment you’re in.
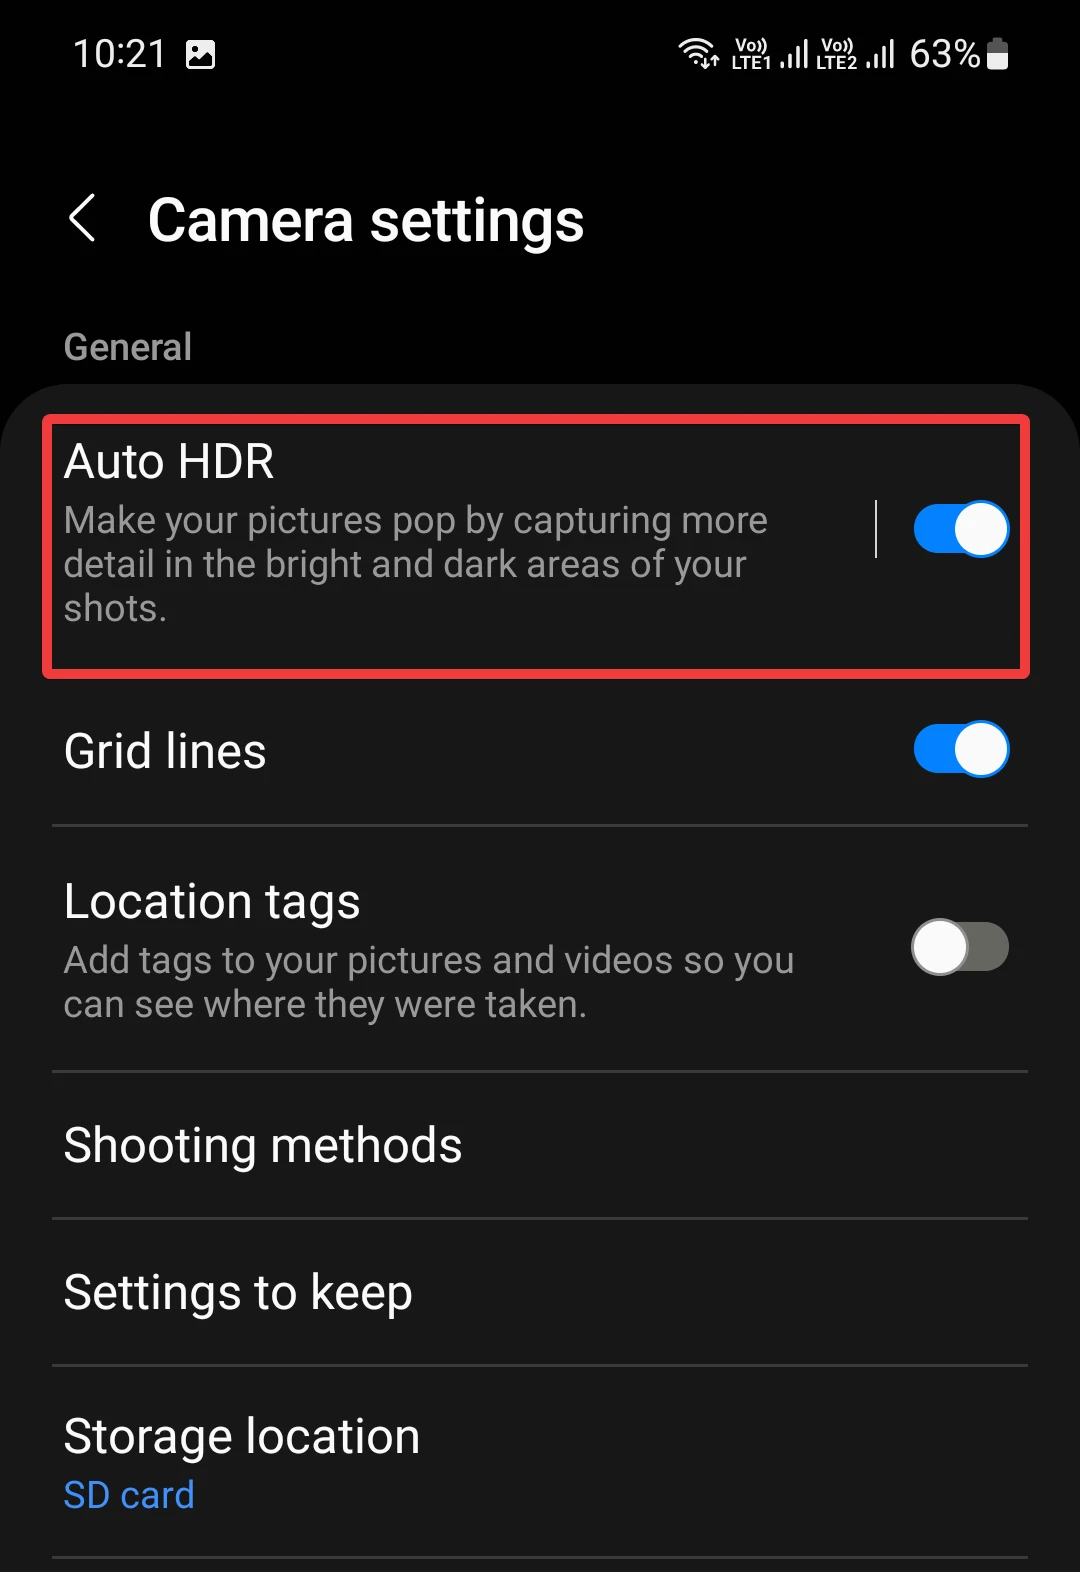
So, if you see it, simply turn it on and you’d be able to take photos in HDR. But if you don’t have HDR there as well, then you need to use a third-party application called Open Camera.
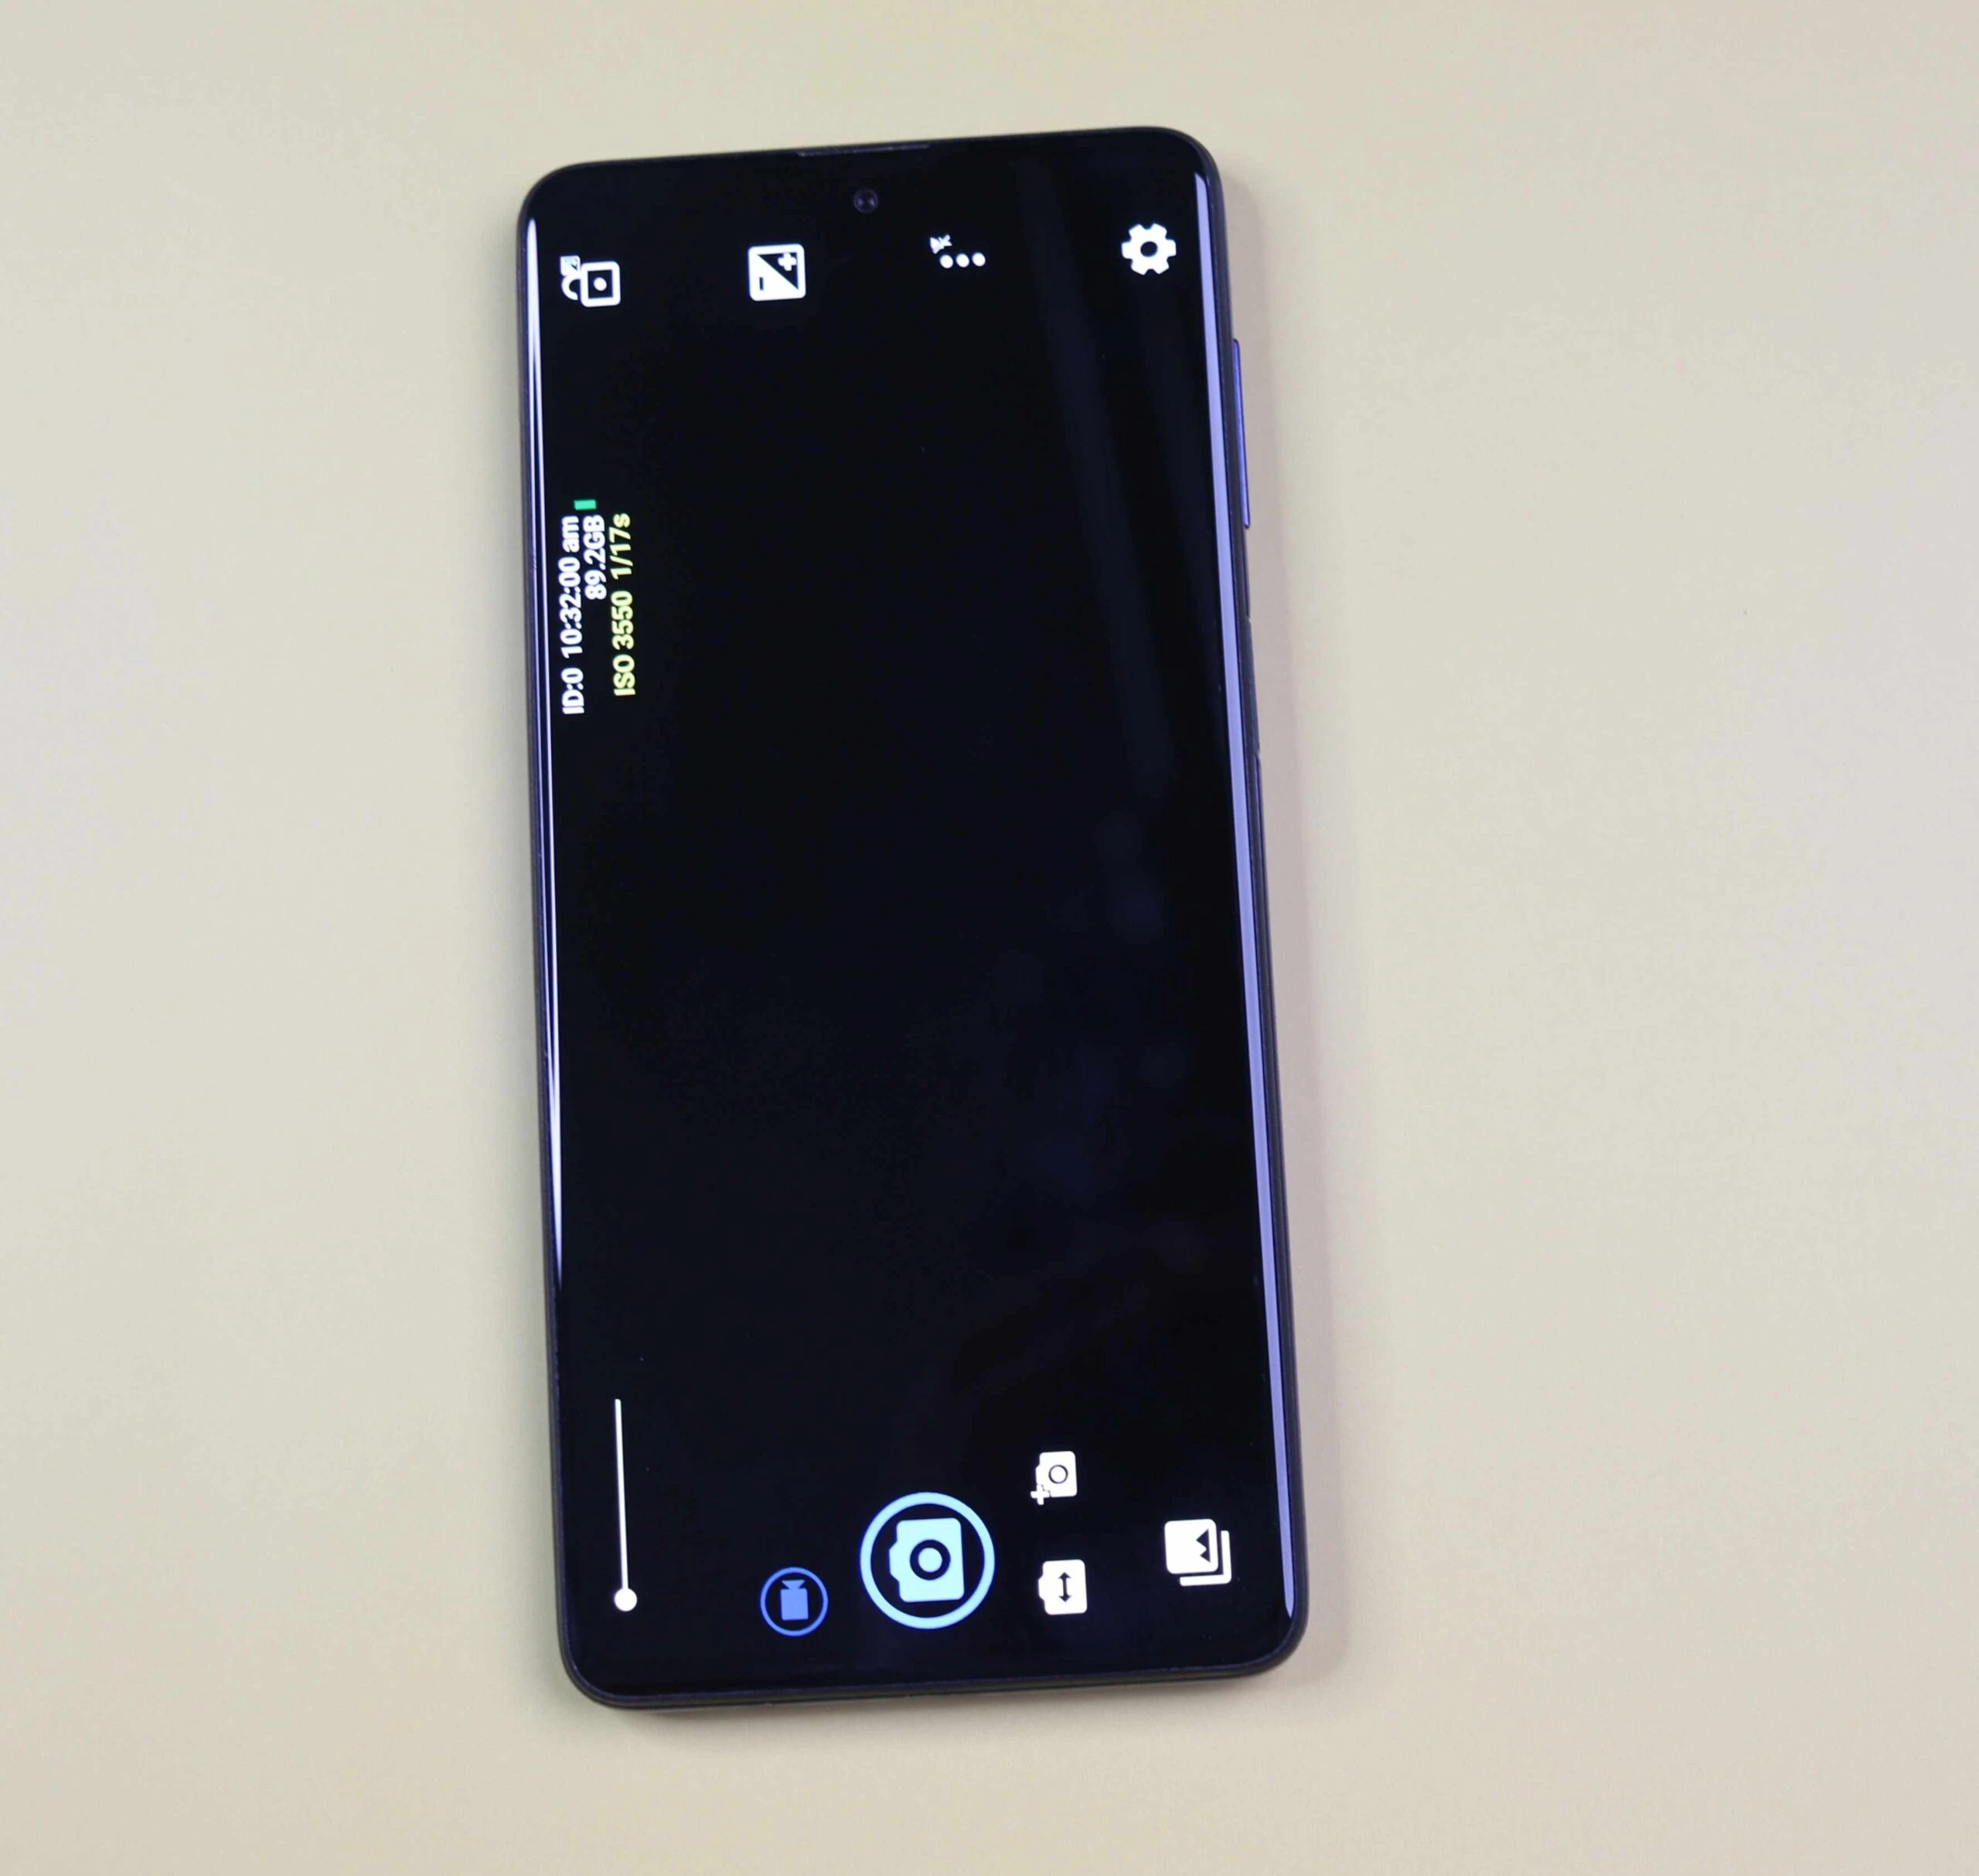
To enable HDR mode in an open camera, go to the setting icon, choose photo settings, and then find Save all images for HDR mode and enable it and select Exposure Bracketing to 3.
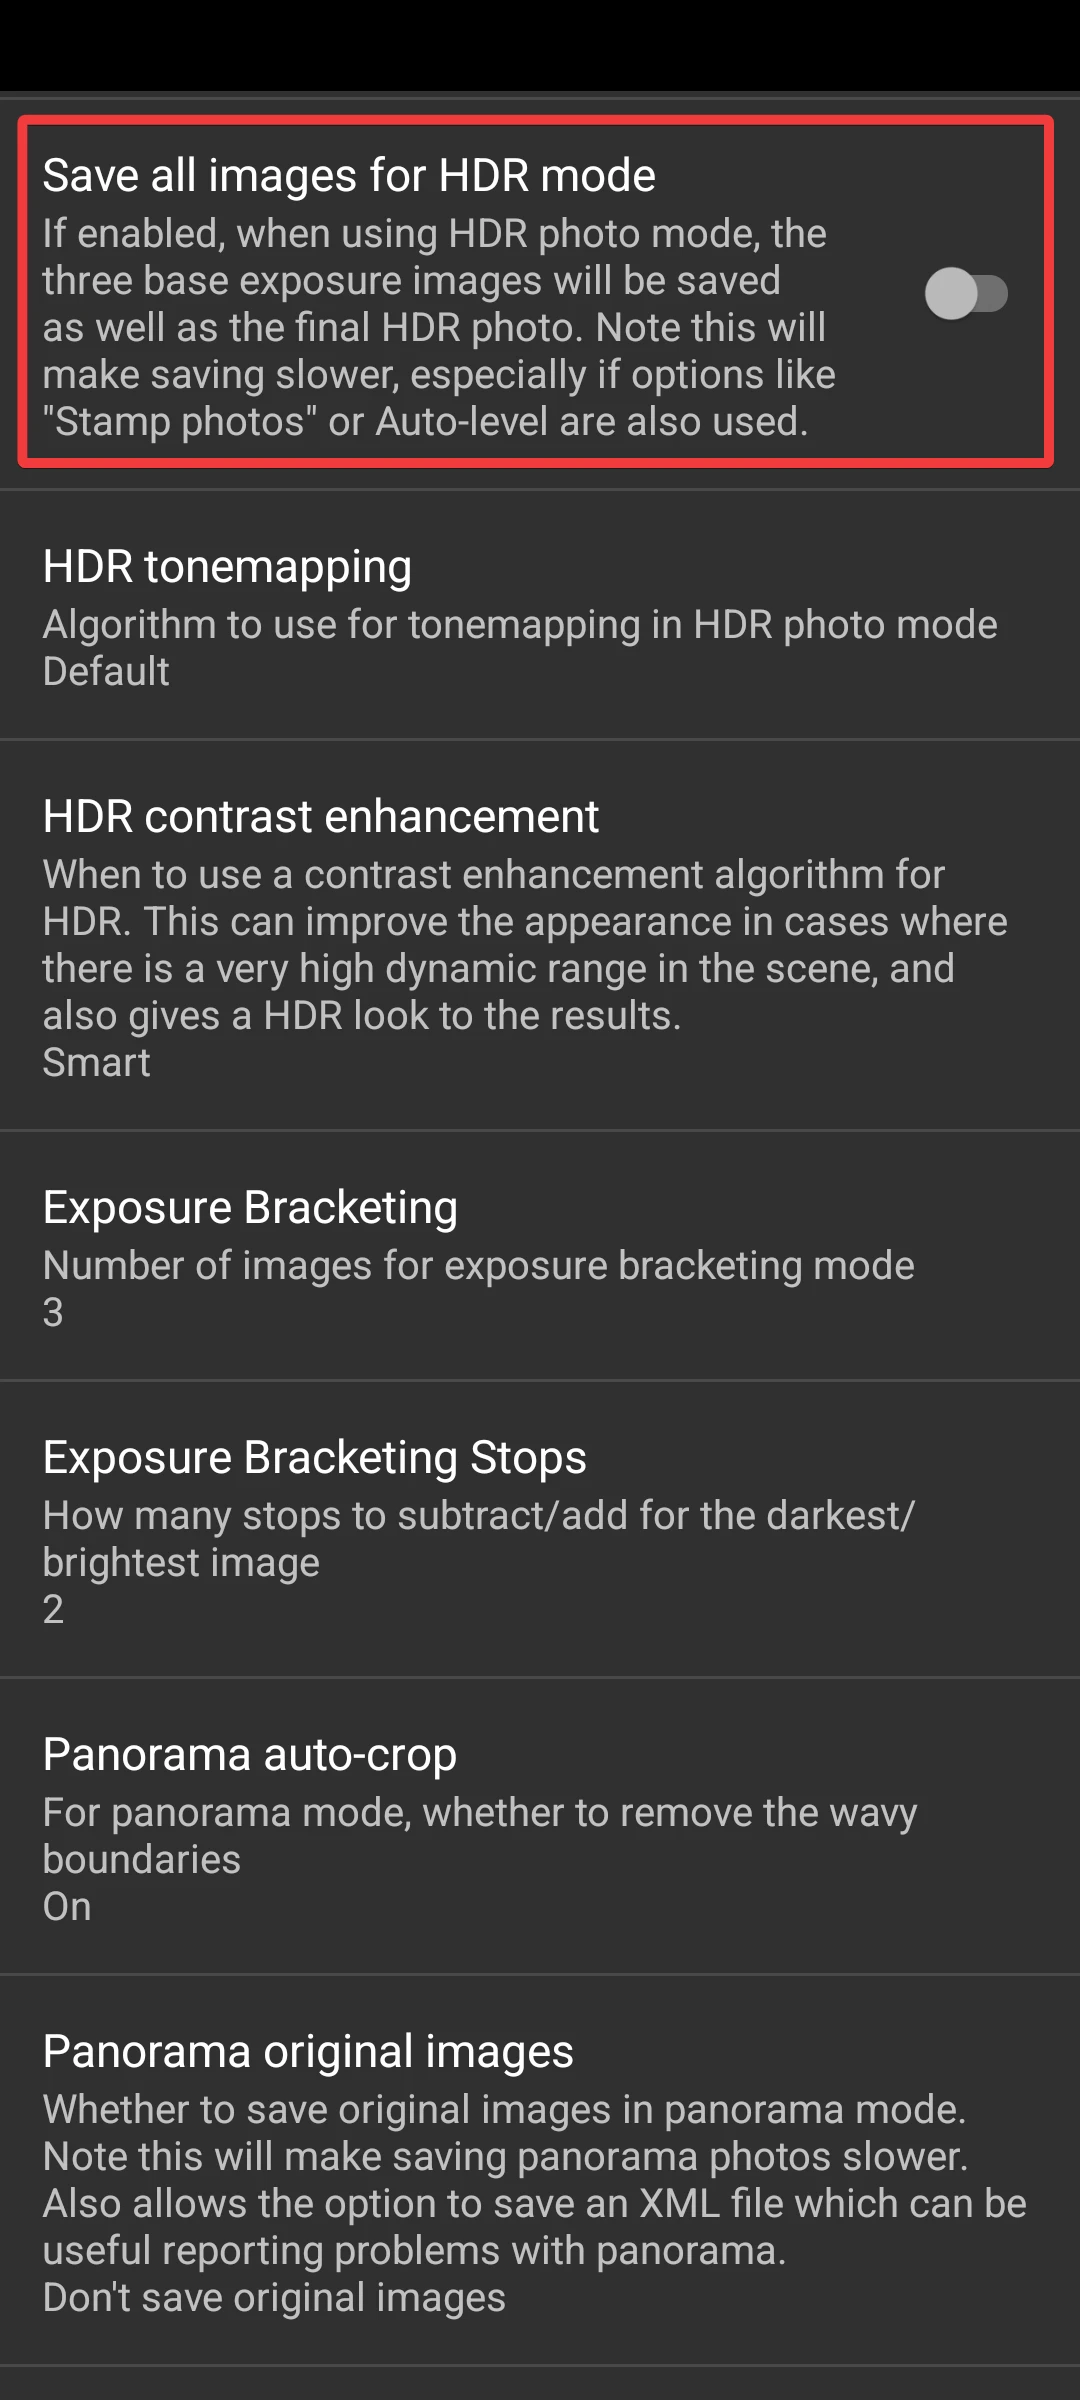
It will take three different images and then provide the final image in proper HDR mode. So, that was all for the article. If you still have queries then you can comment it down below and we’ll try to resolve them all.
